Showing posts with label Tutorial. Show all posts

Tuesday, November 4, 2014

Tips on Fall Photography | Tutorial | Kansas City Photographer

I was admiring the autumn colors today and thought of a blog post.  So I decided to share with you all!  Here it goes. ;)

One thing I've noticed on the internet is lacking composition in fall photos.  The person is trying to capture the beauty of fall leaves, they succeed in capturing the color, but it looks like chaos.  The following two pictures I took today are examples. :)

 No, it's not a terrible photo, but it sure isn't a GREAT photo.  Why?  Because there is no main subject.  It doesn't have the rule of thirds, and nothing that draws your eye around the photo.  

This is exactly the same problem in the next picture.


Here is a photo of the exact same tree, just closer...
Different, yep?  It has a subject, the one leaf that holds your attention.  Here's another photo as a good example. ;)
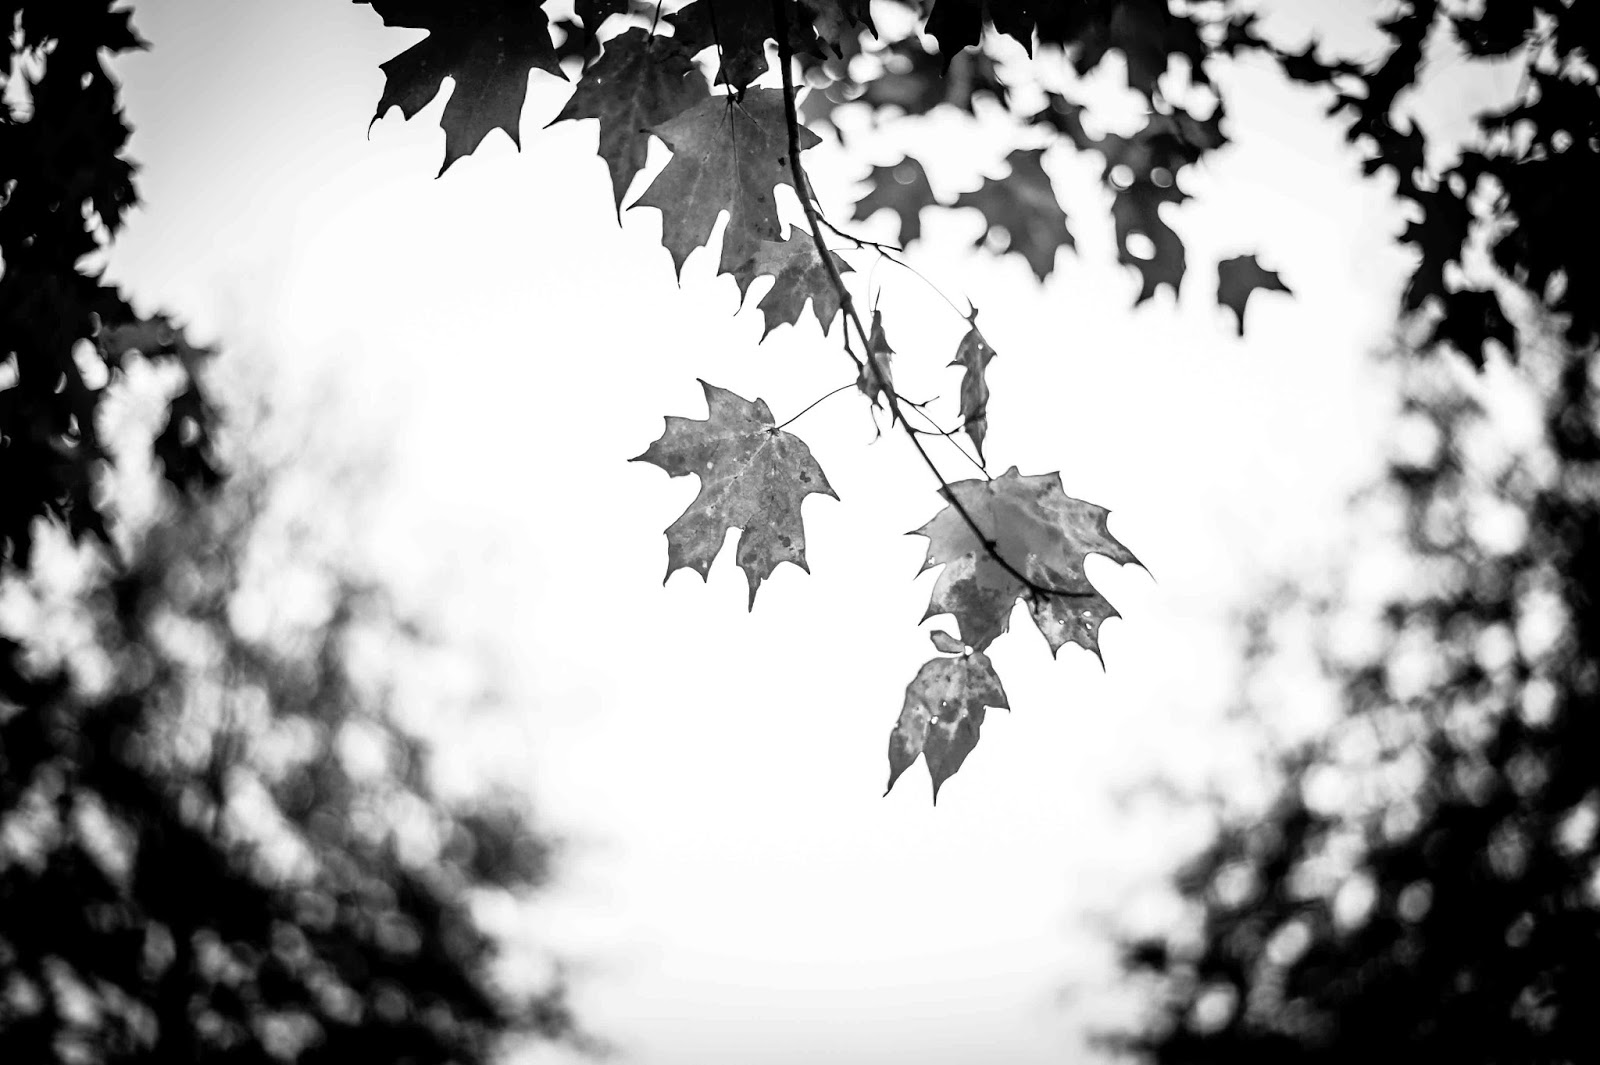
Why this photo holds is your attention is the leaves that are in focus draw your eyes in a triangle... Therefore it doesn't draw your eye off the page, and it keeps you interested.
This photos, has a ton of leaves, and would be terrible if that was the only thing in it.  But the cat (his name is Rizzo... he wanted to be pet, and wound up jumping on my back when I was trying to take pictures;) completly changes it and becomes an adorable subject.
My final tip is, less is more.  Keeping it simple is normally much better than trying to fit everything in the picture. :) Of course, there are exceptions... But with leaves, most of the time keep it simple.


I hope this was helpful!  Any questions?  Comment or shoot me an email. :)

Tuesday, August 26, 2014

How to Make Your Blog More Professional

If you are just getting your blog started, you're probably wondering, "How in the world do I make it look professional?"  Or maybe you just want to make improvements on your blog.  We've all seen, and disliked the overdone blog that overwhelms you with flowers, sparkles and random colors.  Well, through research, trial and error (LOTS of error ;D) I have learned some basics that truly make your blog look more professional.

1.  Get rid of the navibar.  You never see this on professional blogs so we are going to ditch it.  Go into Layout then click on Edit that's in the Navibar box, then click Off.  That's all!  VERY easy.


2.  Create your own favicon.  Again, you never see the traditional blogger emblem on a professional blog.  Here is a link to a favicon program.  After you save it to your computer,  got to Layout, click on Edit in the Favicon box, load your favicon, then click Save.  It may take 24 hours for it to change, but it will load!


3.  Don't use too many colors.  Choose about 4 colors.  I made 2 of them my main, then 2 my accent. My main colors are black and hot pink, then gray and a light pink.

4.  Don't clutter with too many designs.  You don't want to overwhelm your readers.  You want them to focus on your pictures or writing.  Then you want them to remember your blog because they loved your work, not because of a crazy header, song (sometimes music is fine, as long as it's done tastefully), and sparkly background.  A blog needs to compliment, and bring attention to your work, not be so strong it makes the person forget your pictures. (Another problem with too many designs is it takes your blog longer to load, and people don't want to wait a long time.  So instead of waiting for your page to load, they'll leave and go visit another blog).

5.  Don't use text slang.  It is extremely unprofessional to be using, "Yesterday, we went 2gether 2 da park and 8 on da playground."  Seriously, its painful and looks like you skipped grade school.  Just no.

6.  Get your their, there, they're and your and you're straight.  People appreciate well written sentences.

7.  Don't use crazy text.  You want something simple that can be easily read.  If it's not simple, people will lose patience and leave your blog.  The same thing goes with the color of the text, on the body of the post, make sure you stay with gray or black.

8.  My last tip. Go to professional blogs you love and see what they did.  Look at the blog and think, "What do I like?"  Really study the blogs you love, and then use that knowledge to improve your blog.

I hope this was helpful!  Leave me a comment if you have any questions. :)


Monday, December 23, 2013

How to get beautiful head shots...

I remember looking at other photographers pictures a couple of years ago and wondering, "How do they do that?"  These pictures were normally head shots that looked so easy, but there was something special about them I couldn't put my finger on it.  And I couldn't duplicate it.  For a long time.  But finally it clicked (Ha! no pun intended :D) when I started taking pictures more, then I got it.  So I'd thought I'd share it with you so you don't have to go through the same frustration I did.


So this is a nice picture, obviously this girl is beautiful and adorable, but I needed to do something different to make it better and even more flattering.


So I told her to look down at the ground (I normally tap the place with my foot where I want them to look), and this just made a beautiful and totally different picture.


Then I told her,  "Okay, great! Now don't move your head, but bring your eyes back up to me".


And BAM!  Beautiful picture that is SUPER flattering!  What I did was bring her eyes closer to the camera so they looked their biggest by tilting her chin down.
See the difference?


Maybe you're thinking why didn't she just say at the beginning, "Tilt your chin down, slightly turn your head to your right, so I can give you a better picture."?  Well, I like doing what Jasmine Star calls, "Getting your client into a pose."  I knew what I wanted, but I didn't fire a bunch of confusing commands at her.  By telling her to look down, it naturally put her head into the best position.   Remember, your clients look their best when they're comfortable and not trying to remember 3 different commands you just gave them. ;)

Well this is all for now, hope it was helpful! Please comment if you have any questions or just to say hi! :)


Thursday, July 25, 2013

How to do: Jump pose

This is da bomb pose for seniors.  It's fun, it shows energy, and is fairly easy!

1. First off, makes sure you have a fast shutter speed, I'm talk'n like at least 1/400
2.  Make sure you are focused on the subject BEFORE you start shooting.
3.  Tell them to jump on three....
4. Before you even say "three", start shooting, to make sure you don't miss the key moment


Okay, compare these to photos, which one looks better?  The 2nd one!  Why?  I'll tell you. ;D

With the 1st, it looks like she has no feet and no lower legs.  Awkward.

SO what I told her to do on the 2nd picture, to turn slightly away from the camera and then make sure her feet were apart when she jumped.
ALSO I showed her what expression I wanted, FUN!!!  A jumping pose is WAY more interesting if you have an energetic and fun expression!


Okay, that's all I have. :)  Please comment if you have any questions, or if something didn't make sense, I'll gladly answer any question! :)


Tuesday, April 30, 2013

How to take good portraits


Here is my first tutorial ever.  *gulp*  Hopfully I won’t totally butcher it.   I'm just a self taught photographer so I'm still learning, and FAR from perfect.  ;)   So please let me know if you’re confused, and/or have questions. ;D


How to get good portraits:

1.Learn to shoot in Manual.  I cannot stress how important this is, if you don’t have this down you’ll never be fully happy with your portraits.  No matter how “smart” your auto setting are, you’ll be disappointed or frustrated with it.  It does take work to learn manual, but it is so worth it, you won’t be disappointed.


2. Learn to be an encouraging chatter box...  I know it sound lame and shallow (believe me, this is hard, I’m not a natural chatter box), but the constant encouragement makes your client confident that they are doing the right thing.   Then you will get more natural, comfortable pictures of them, and they love it!


3. 
Learn how to pose.   When you understand the best way the human body looks it will help you get much better shots, consistently.   Also learning how to get you’re client INTO the pose is very important.  I’ve found that showing the pose myself is the best way to get them into it.  Yes, it seems a little bit silly at first, but then it becomes pretty natural.  (And guess what?  If you were in their position you’d love to have the pose shown to you).


I’m planning on doing a post on posing with more detail.   As I said, I’d love to hear you’re thoughts/questions or random comments. :)